ADVERTISEMENT
Step-by-Step Instructions for Making No-Oven Bread
Step 1: Prepare the Dough
- Activate the Yeast:
In a mixing bowl, combine the warm water, sugar, and yeast. Stir gently and let it sit for 5-10 minutes until the mixture becomes frothy. This indicates that the yeast is active. - Mix the Dry Ingredients:
In a large bowl, mix the flour and salt. If you’re adding herbs, minced garlic, or grated cheese, now is the time to incorporate them. - Combine Wet and Dry Ingredients:
Gradually add the yeast mixture, milk, and oil to the dry ingredients. Stir with a spoon or your hands until a shaggy dough forms. - Knead the Dough:
Transfer the dough to a floured surface. Knead it for about 8-10 minutes until it becomes smooth and elastic. If the dough is too sticky, sprinkle a little more flour, but avoid adding too much, as this can make the bread dense.
Step 2: First Rise
- Shape and Rest:
Form the dough into a ball and place it in a lightly greased bowl. Cover with a clean kitchen towel or plastic wrap. - Let It Rise:
Leave the dough in a warm, draft-free area for about 1 hour, or until it doubles in size.
Step 3: Shape the Bread
- Deflate the Dough:
Punch down the dough to release the air bubbles and transfer it to a floured surface. - Shape:
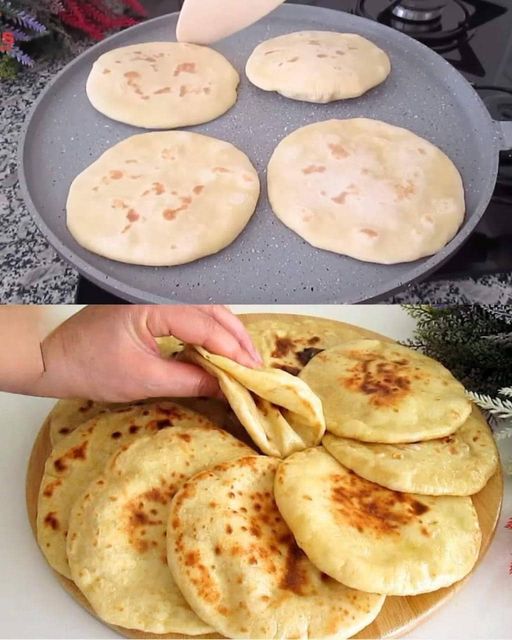
Shape the dough into your preferred form—round, oval, or even small rolls. If you’re making flatbreads, divide the dough into smaller portions and roll them out into thin discs.
Step 4: Cook on the Stove
- Preheat the Pan:
Heat a heavy-bottomed skillet, cast iron pan, or non-stick pan over medium heat. Grease it lightly with oil or butter. - Cook the Bread:
Place the shaped dough into the preheated pan. Cover the pan with a lid to trap heat, simulating an oven environment. Cook for 5-7 minutes on one side until golden brown. - Flip and Finish Cooking:
Carefully flip the bread and cook for another 5-7 minutes on the other side. Ensure the bread is evenly cooked and has a nice crust.
Step 5: Final Touches
- Optional Glaze:
Brush the hot bread with melted butter or garlic butter for added flavor. - Cool and Serve:
Transfer the bread to a wire rack to cool slightly before slicing or serving. Enjoy it warm with your favorite spreads or alongside a hearty soup.
Please Head On Over To Next Page
ADVERTISEMENT
